Find the resources that you need
From specialized help to lendable materials, we've got you covered
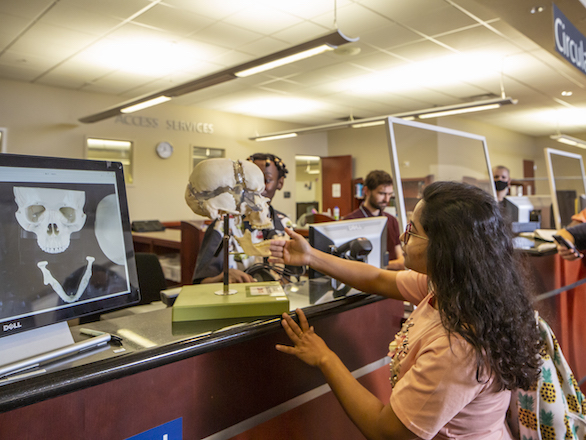
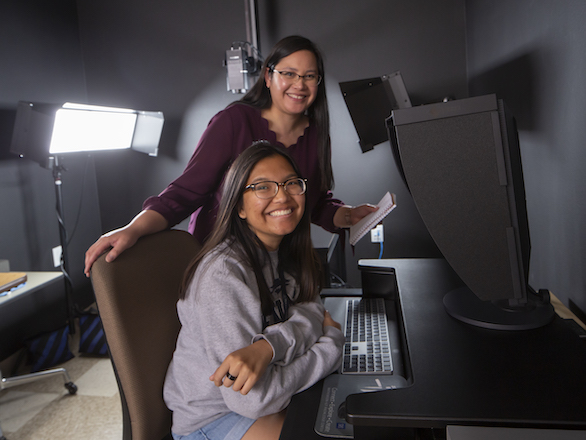
Our team is here to help
Need help with GIS? Want to learn more about systematic reviews? Need to print a poster? Our team members have the skills and resources to support your work.